
Timesheets are available on the Business plan and above. learn more.
You can import a timesheet from an Excel or CSV file directly from the time page. To import a timesheet: navigate to the time page, click Import, upload your file, map the required columns, answer the four configuration questions, and click Import to finish.
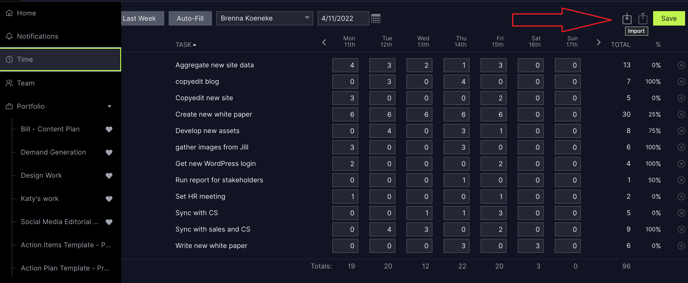
How to Import a Timesheet
Before importing, ensure your Excel or CSV file includes the required columns: Task name, Assignee, Hours, and Date. Optional columns are Notes and Project. Navigate to the time page and click the Import button to begin.
- On the time page, click Import.
- Upload an Excel or CSV file from your computer.
- Map your columns. Required: task name, assignee, hours, and date. Optional: notes and project name. The notes column maps to the timesheet notes field.
- If any tasks have no project name, choose to associate them with an existing project or mark them as non-project tasks (these appear under "All other tasks" on the timesheet page).
- Answer the four configuration questions, then click Import.
- Review any errors on the confirmation screen, or confirm your import completed successfully.
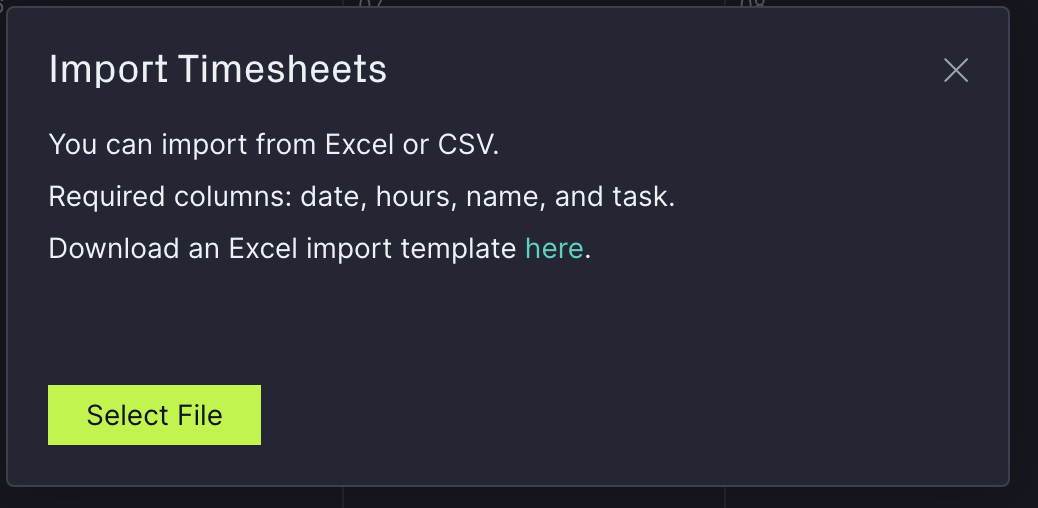
Task name, assignee, hours, and date are all required columns. Notes and projects aren't required columns. The notes column refers to timesheet notes.
Any non-project tasks will be available under “All other tasks” on the timesheet page.
Once you've mapped the columns and answered the four configuration questions, click Import. Common errors include missing required columns, unrecognized date formats, or assignees that do not match existing users in your account. Review the error list, correct your file, and re-import to resolve these issues. Otherwise, your timesheet data will be imported successfully.