ProjectManager allows you to change a user’s role or deactivate them at any time. However, it’s not possible to delete a user completely, which means that their email address remains stored in our system.
If the email address remains associated with your account, the deactivated user won’t be able to create a new account with that email address.
This article shows you how to remove the email address associated with the user's profile.
How to Remove the Email Address
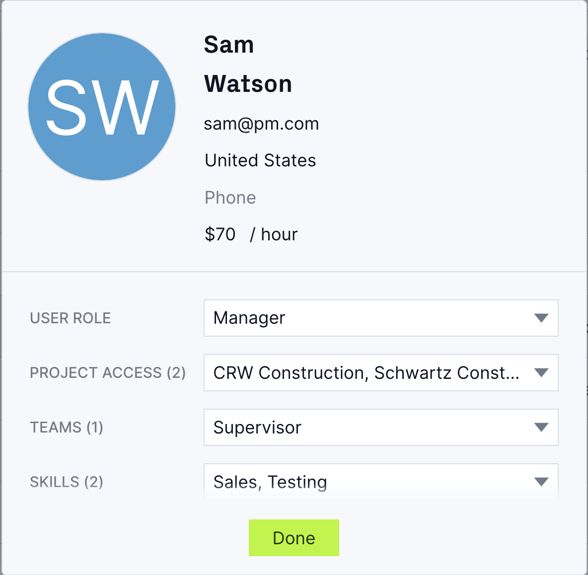
To remove the email address associated with a user’s profile, navigate to the users and teams page and use the search function to find the user profile you want to deactivate.
You can remove their email address by switching their role to "none" and then deleting the email address. This removes the user’s access to the software and allows that email address to be used for another user's account.
The user can no longer log in, but you may want to fully remove them from your manage users list by deactivating the profile.
How to Deactivate a User
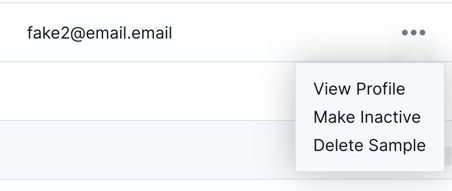
You can deactivate a user by clicking the three ellipses to the right of the user’s profile. Click the “make inactive” button to deactivate them.

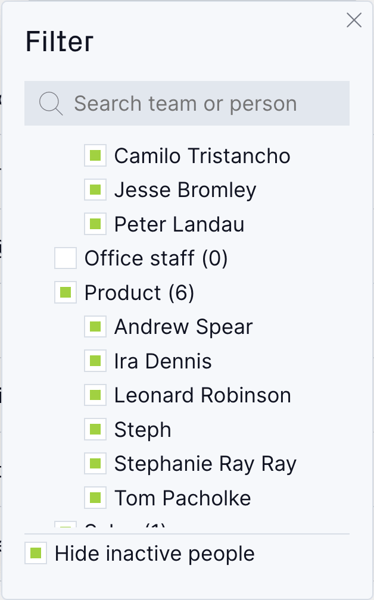
To prevent confusion, make sure “hide inactive people” is selected from the filter menu.
The process of deleting a sample user is the same.
You can reactivate the user at any time without creating a new profile by finding the deactivated user and clicking the three ellipses to activate them.
Got questions? Join a live demo to get a real-time walkthrough of ProjectManager and get your questions answered in a Q&A session.
User Licenses
When you deactivate a user your total number of paid licenses will remain the same, allowing you to add a different user in their place without affecting your monthly bill. If you would like to reduce your number of paid licenses after deactivating a user (or any other time) simply do the following:
- Open the Account & Billing
- Find the "User Licenses" section and click "Manage licenses"
- Change the number of licenses
- Save your changes