
Available on all editions
Creating Your First Project
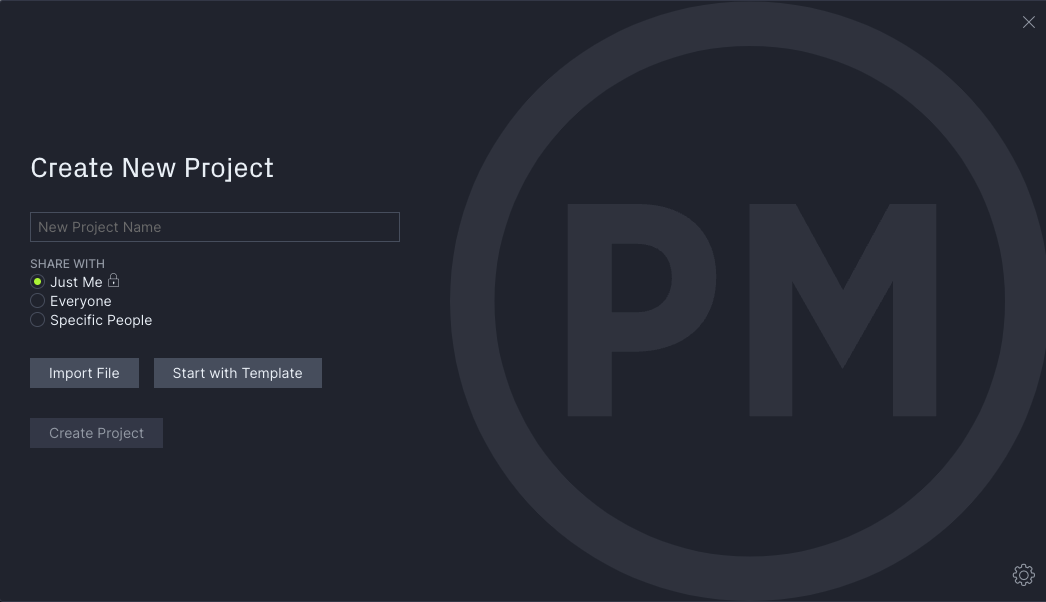
When you log into your workspace for the first time, begin creating projects.
You can:
1. Start a project from scratch
2. Import a project
3. Use a template to create a project
There are a few areas of the software you'll want to set up before you start building out the project. By following a few easy steps now, you will set your team up for success in the long term.
Set Up Security and Alerts
You can control what your team sees and doesn’t see within the software on a global and per-project level, as well as set up email alerts.
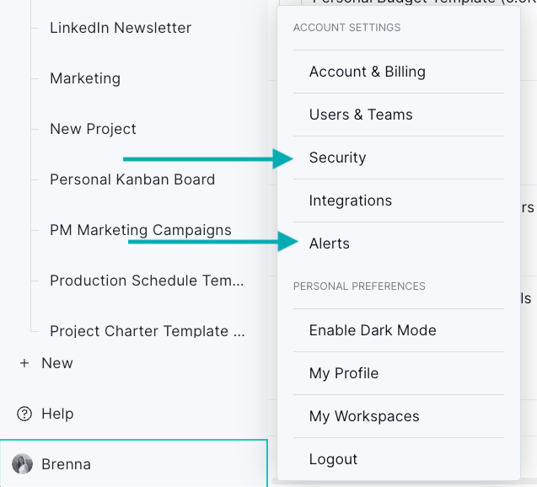
Access global security settings by clicking on your account avatar.
Role Security
Use this popup to restrict certain functions or data by role. Custom roles are available to Enterprise customers by default.
You can further control who can edit a project by customizing your project security settings.

Alerts
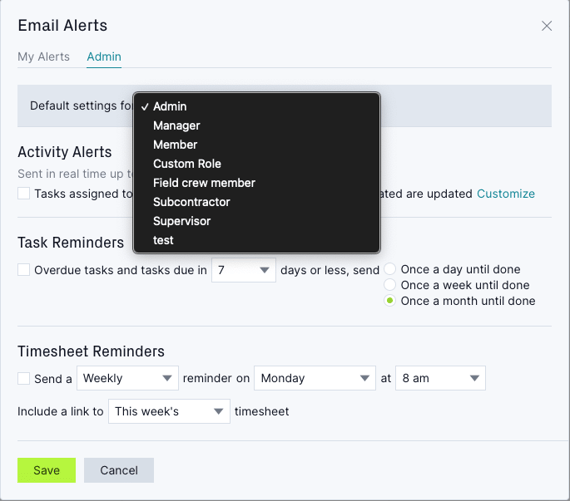
Click on alerts to set email alerts for yourself or by role. Email alerts can help team members stay on top of important updates, especially as they adjust to the tool.
Set customizations so you only get alerts for activities within the software that matter to you.
Add Team Members
Once you add team members, you can start collaborating, assigning tasks and getting work done faster. You can add a team member seamlessly by importing a project, from the global add button, or from the team or users & teams page.
Click "invite people" and fill in their name, email address and any projects you'd like them to have access to. You can add other details later from the manage users page, such as role, hourly rate and more.
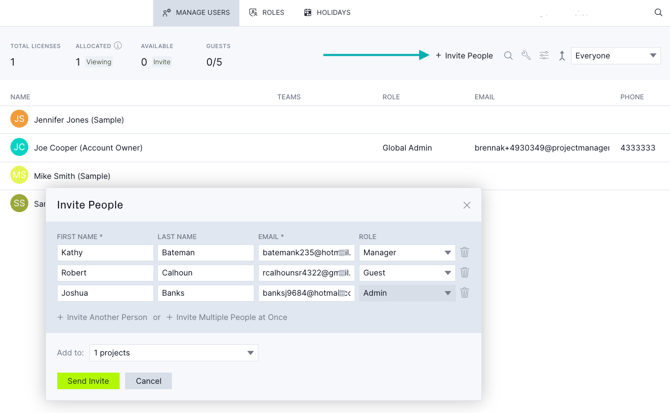
Tip!: You can invite multiple team members at once from the invite popup by clicking "+ invite another person."
Add Working Hours
If you plan on using resource management to track planned and actual effort, you will want to set your team’s working hours under the holidays section of the account menu.
Click "people" or "global" and set individual or global working hours.
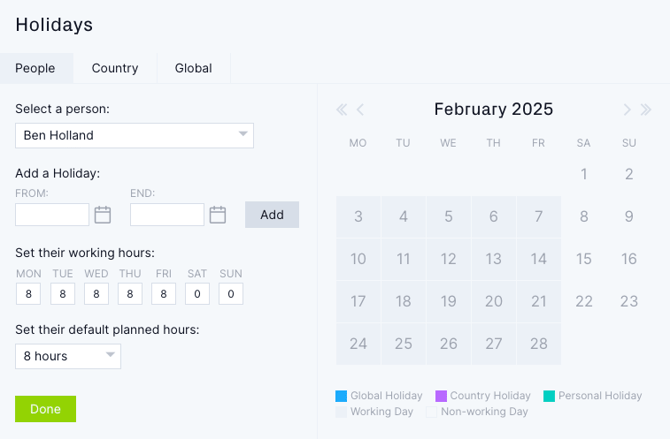
Click the settings dropdown menu and choose "holidays" to set global working hours and global default planned hours for team members. You can also set national and global holidays for your team here.
Tip!: Working hours dictate how many hours a resource can work before they become over-allocated on the Workload page. The global default planned hours is the number of hours a resource works per day so the breakdown of hours across the duration can be calculated correctly. For example, if you create a five-day task, it will take a resource that works eight hours a day for five days to complete the task.
Create Workspaces
Workspaces are ideal for different organizations or departments that require unique working spaces. Data between workspaces is private and it's easy to switch between them when logging out. You can invite the same people to all workspaces or have different teams in each.
Use the account avatar menu to create your workspaces.
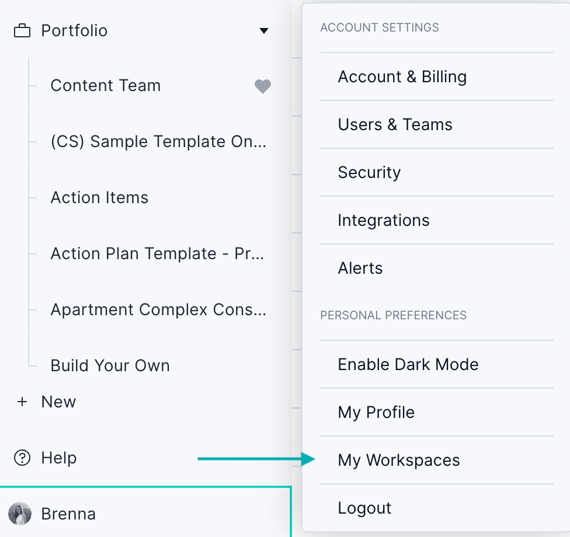
Note: Enterprise customers can make custom workspace URLs! For example, Acme Construction can use acmeconstruction.app.projectmanager.com. Email support@projectmanager.com and we'll be happy to set this up for you!
Here, you can see all workspaces to which you have access. Read more about workspaces.
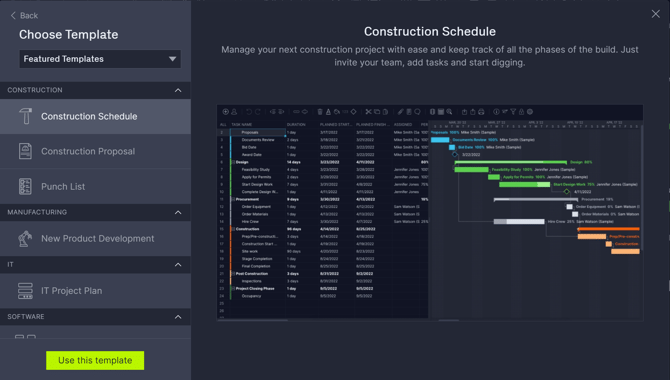
Explore Our Featured Templates
We have the following featured templates: agile sprint planner, change tracking log, construction schedule, event plan, implementation plan, issue tracking log, IT project plan, manufacturing - new product development, marketing campaign, product launch and risk tracking log.
If you choose a template, you'll automatically see data in the Gantt, list, board and calendar.
If you have additional questions about setting up your account, we're here to help! Email support@projectmanager.com and we'll be in touch!